Apigee has provided a great set of documentation on how their Edge Gateway can be configured. This documentation does not replace it, but instead will help guide the process and outline some standardizations and guidelines.
Guidelines and Standards
- Example: https://api.ucsb.edu/students/lookups
- The Name will match the url, with forward slashes replaced with dashes
- Example: "students-lookups"
- The Display Name should try to be similar to the url, but needs to be clear to someone who is unfamiliar with the data.
- The Display Name should start with the category name for the Dev Portal in this format "{Category Name} - {API Display Name}'
- Private endpoints should end with the text " (Private)".
- The Description should be similar to the Description on the API Proxy, but needs to be clear to someone who is unfamiliar with the data.
- Access Restricted Endpoints (endpoints that require approval) should start with the text: "(Access Approval Required) "
- Private Endpoints should start with the text: "(Private, Access Approval Required) "
- The Environment an API Product should be deployed to is dev, test, and prod; unless there is a reason to prevent deploying it to an environment.
- The Access should be Public for API that should be listed on the Developer Portal. It should be Private for private APIs.
- Public will allow for the API Product to be listed in the Developer Portal. All API will be setup Public. Private endpoints will be private through naming conventions and
- Internal and Private - Never use these settings. Any API Product set to these values will not be displayed on the list of possible APIs to sign up for when creating an Application in the Dev Portal. Background information: These are exactly the same. They were created in a previous version of the product where there was a difference. There no longer is difference. We use these values when creating a private API Endpoint.
- The Key Approval Type should be Manual, however ...
- Automatic - Access requests are automatically approved. We are okay with Key Approval being automatic, since all registered users should be vetted an approved for usage of APIs within the system.
- Manual - Every access request needs to be reviewed and approved by an administrator.
- The Quota should be set to 10000 requests every 1 minute.
- The API Proxy that the Product is associated should be Added.
- Some Custom Attributes should always be applied:
- Approver - This is the person how signed-off the creation of the API in the Gateway.
- Developer - This is the developer that created/maintains the backend API Provider service.
- Originating System - This is the name of the name of the system that is the source of truth.
- Protection Level - https://security.ucop.edu/files/documents/uc-protection-level-classification-guide.pdf
Steps to Create
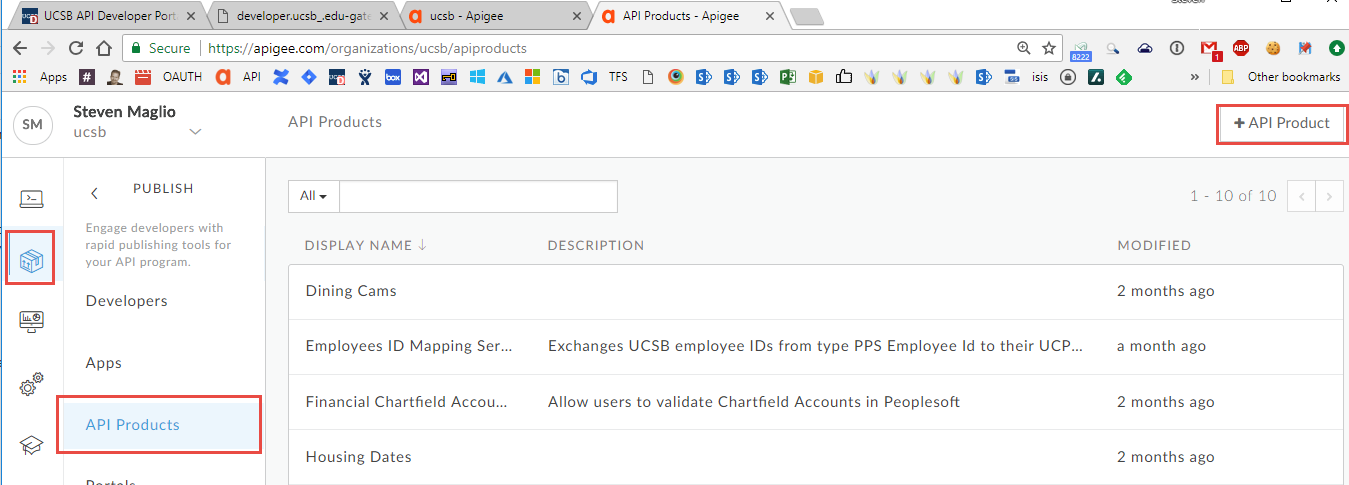
- Open the API Product screen from the navigation menu and use the + API Product button on the top right.
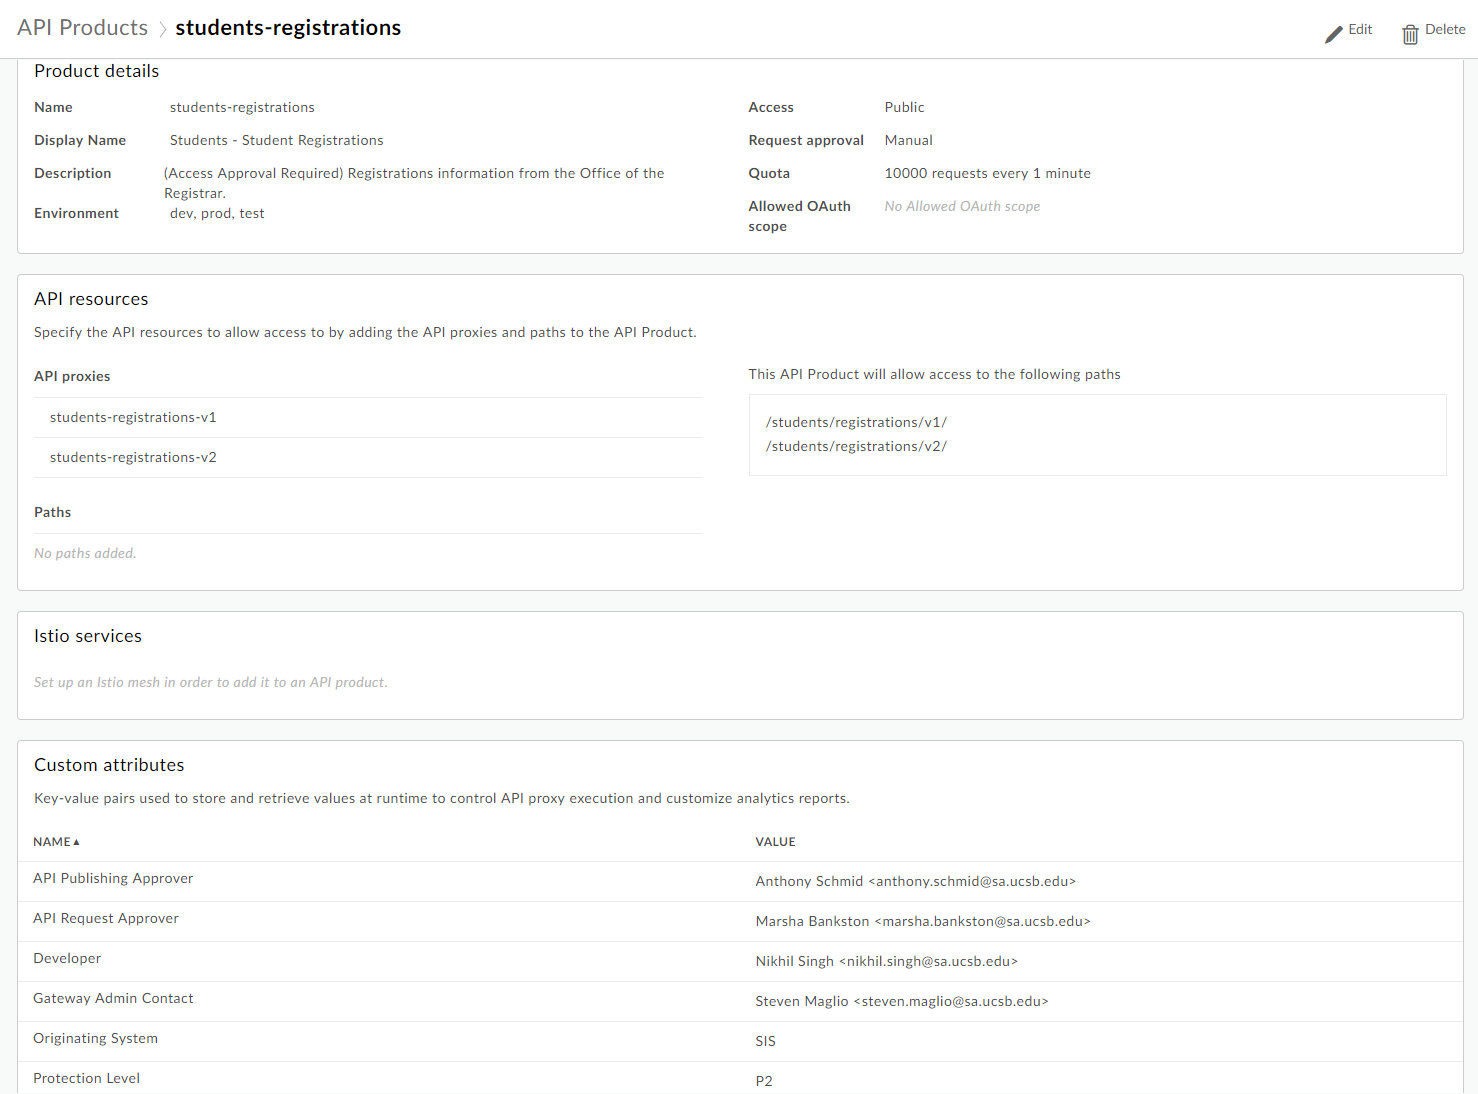
- Fill in the API Product details.
- Set the Name to match the url (and match the name of the API Proxy), students-lookups.
- Set the Display Name to the name that you want displayed in the Developer Portals Access Request area. This value may not line up with the URL as it's important to convey what the API provides to someone unfamiliar with the data.
- Set the Description to a value that will convey what the API provides to someone familiar with the data. This should be the same as, or similar, to the description on the API Proxy.
- Check the Environment of dev, test, and prod.
- Set the Access to Public.
- Public will allow for the API Product to be listed in the Developer Portal.
- Internal and Private are exactly the same. They were created in a previous version of the product where there was a difference. There no longer is difference. We use these values when creating a private API Endpoint.
- Set the Key Approval Type to Manual.
- Automatic - Requests are automatically approved. We currently don't want this to occur, but it may change in the future when more external automation is in place.
- Manual - Every access request needs to be reviewed and approved by an administrator.
- Set the Quota to 10000 requests every 1 minute.
- Under Resources > API Proxies, use the + API Proxy button to add your API Proxy (example: students-lookups).
- This is critical: Without an API Proxy to limit the scope, the API Product gives access to all API Proxies.
- Add these Custom Attributes
- API Publishing Approver - This is the person how signed-off the creation of the API in the Gateway.
- API Request Approver - This is the person that will sign off on any API Access Requests.
- Developer - This is the developer that created/maintains the backend API Provider service.
- Gateway Admin Contact - This is the Gateway Admin that is considered the "primary" contact for maintenance or questions about the API.
- Originating System - This is the name of the name of the system that is the source of truth.
- Protection Level - https://security.ucop.edu/files/documents/uc-protection-level-classification-guide.pdf
- Then click Save
Next let's Add an Upcheck